

XINPUGUANG 150W 120W 100W 50W Flexible Solar Panel 18V Solar Charge 12V Battery Charger System Kit For Motor Home Camper Balcony
12V 50W Solarkit / Canada
Sale price
$223.85
Regular price $447.70
Skip to product information



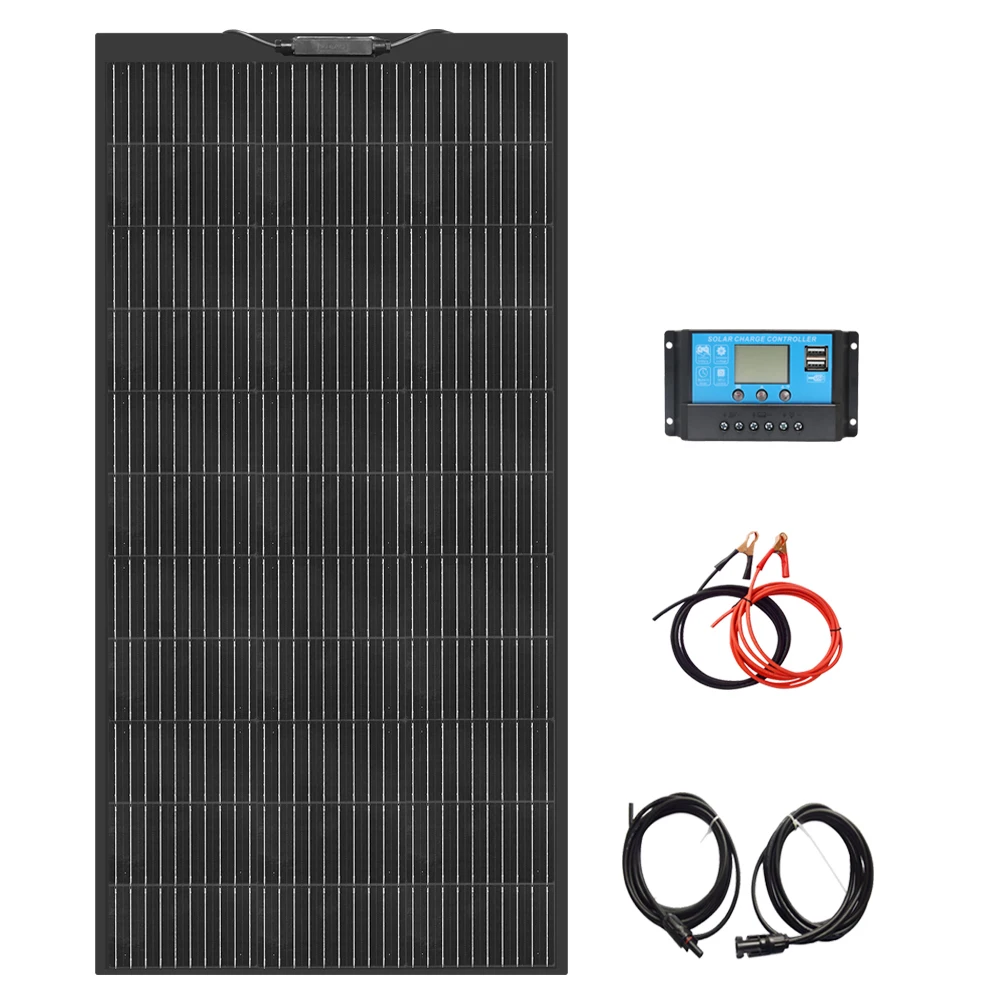

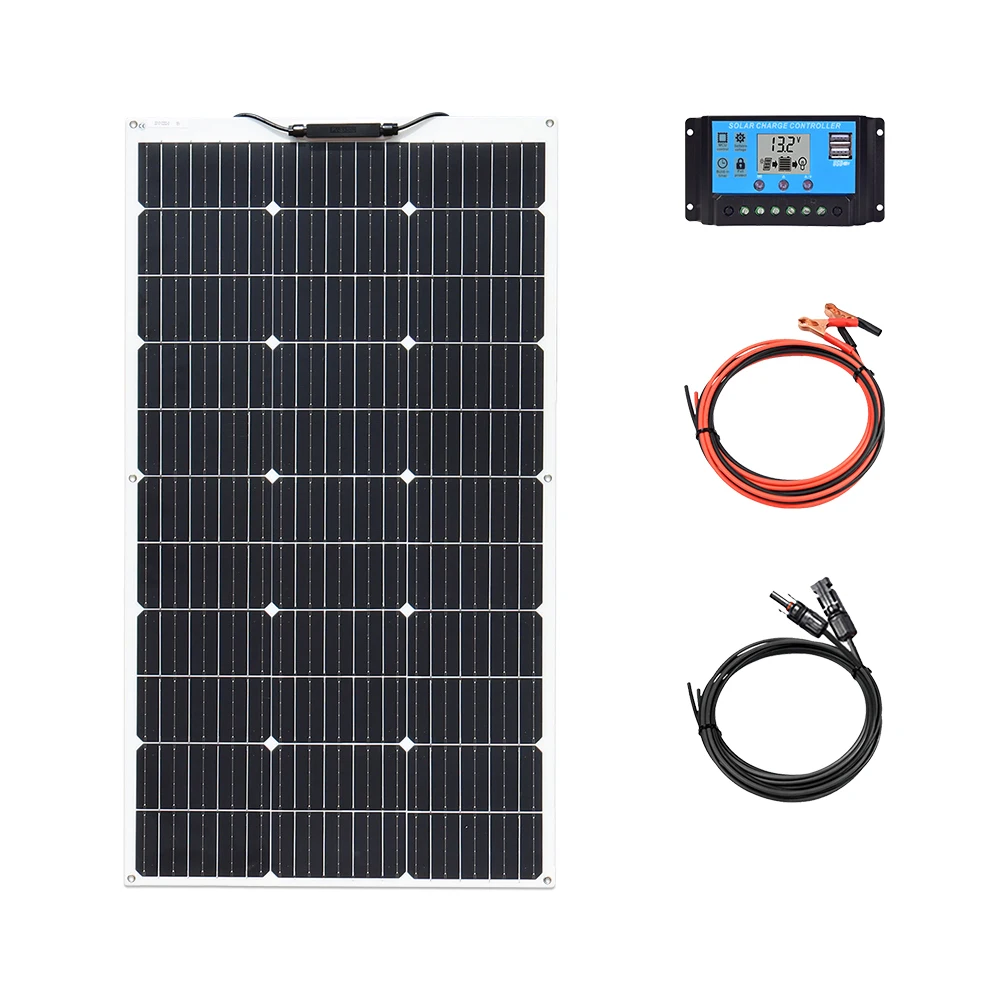


XINPUGUANG 150W 120W 100W 50W Flexible Solar Panel 18V Solar Charge 12V Battery Charger System Kit For Motor Home Camper Balcony
Sale price
$223.85
Regular price $447.70
Shipping calculated at checkout.
Free Shipping on Orders of $100 or More
SPECIFICATIONS
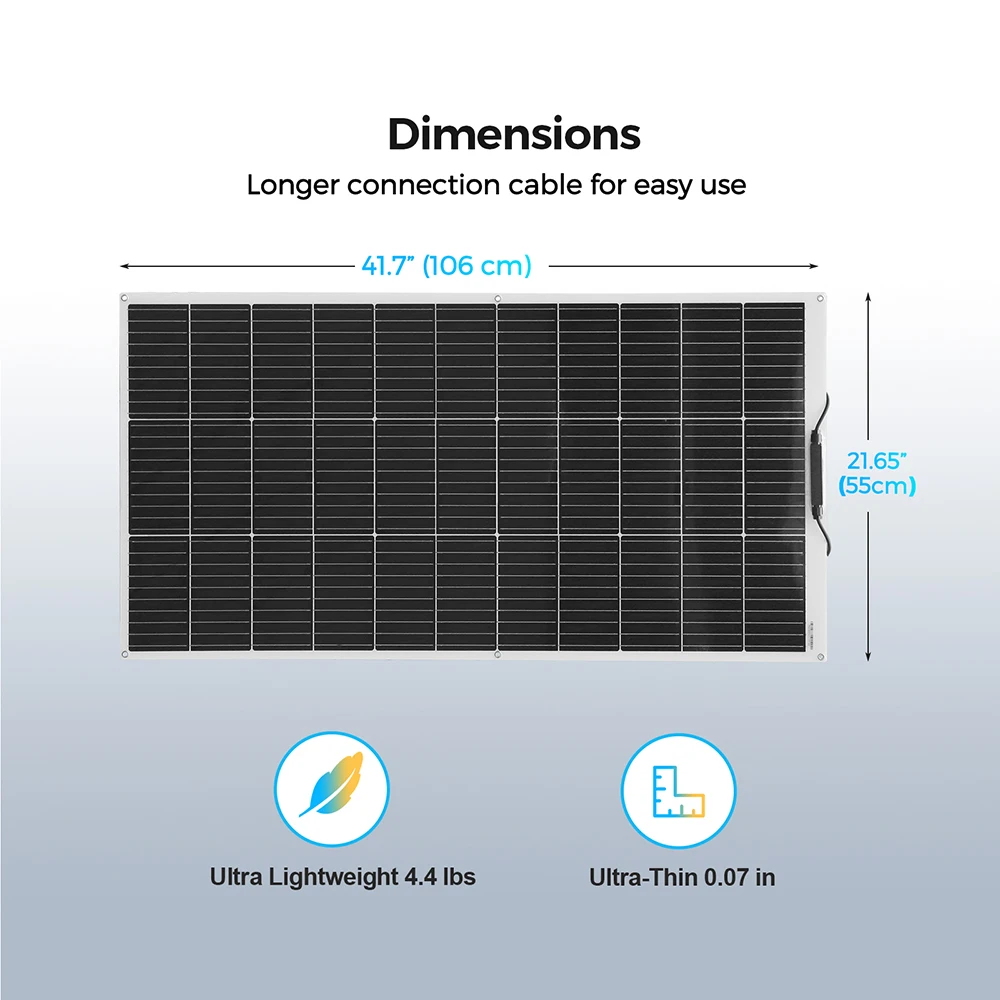
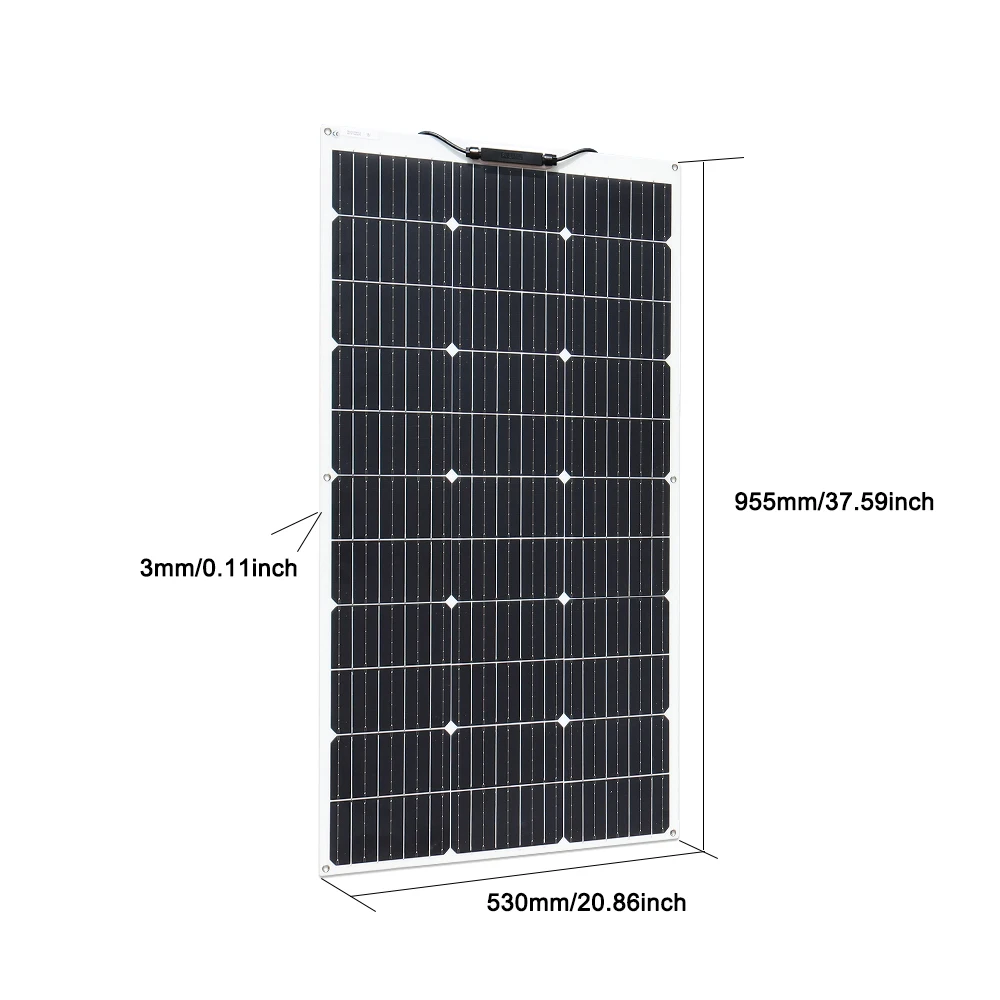
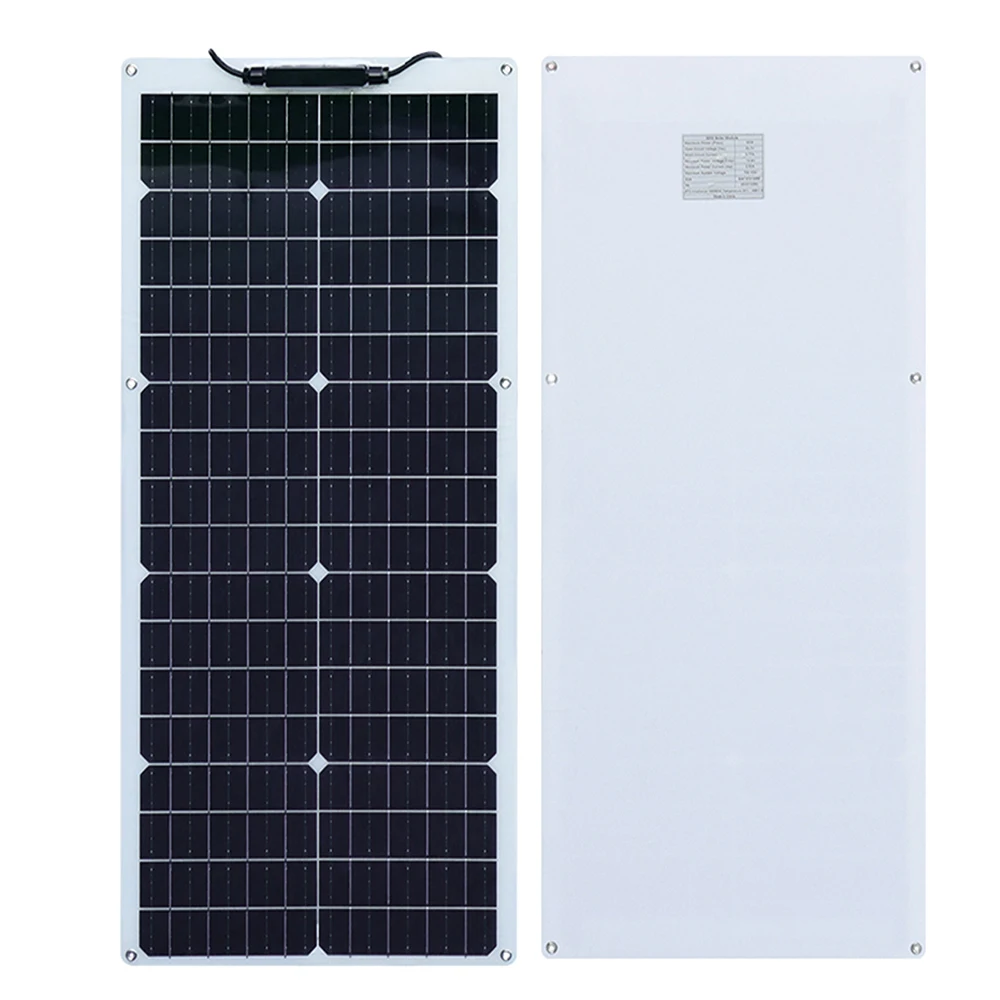
100W Flexible Solar Panel Size: 955*530*2.5 mm
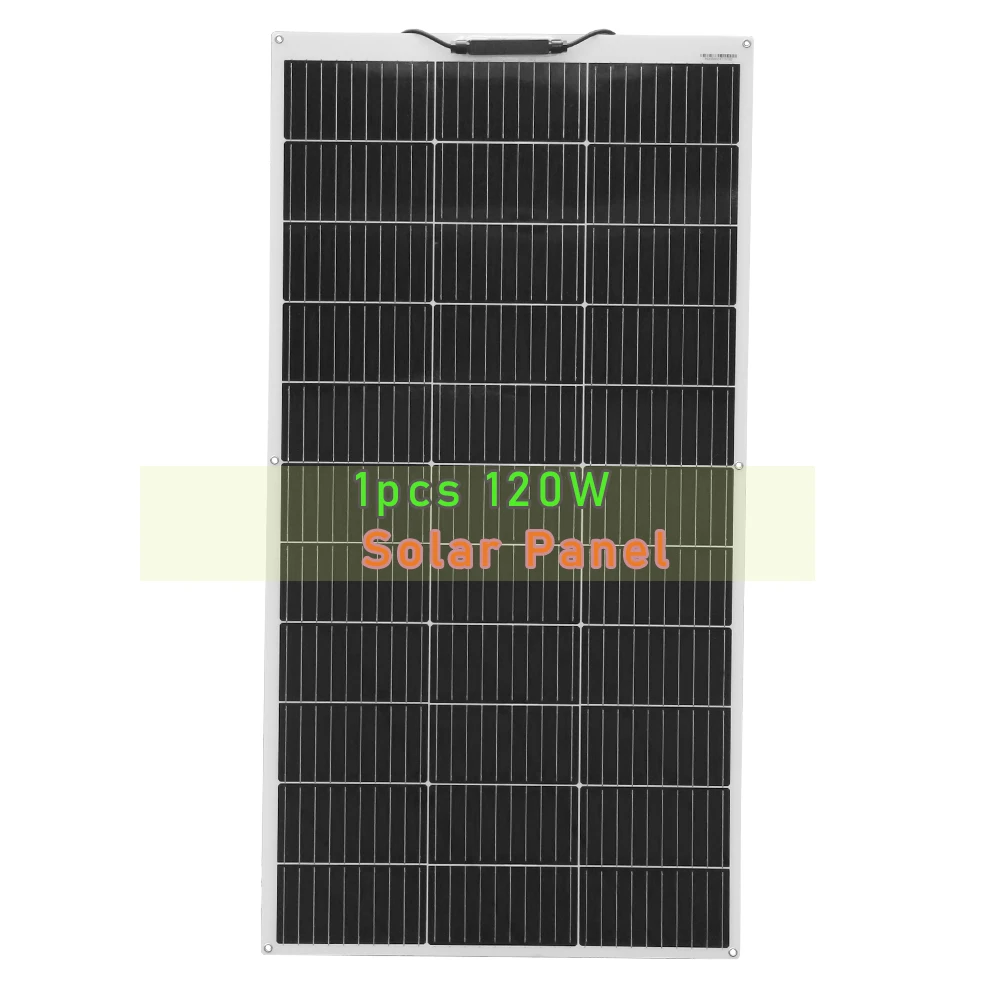
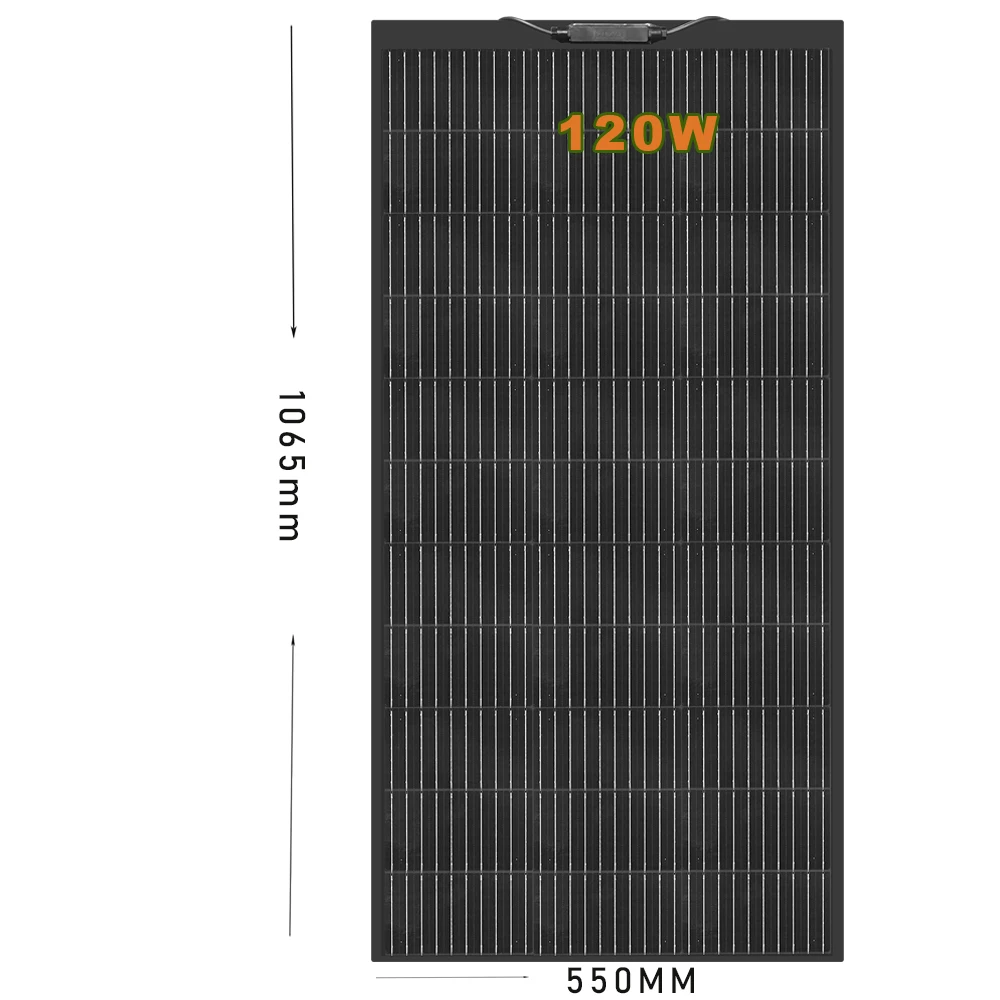
120W Flexible Solar Panel Size: 1065*550*3mm
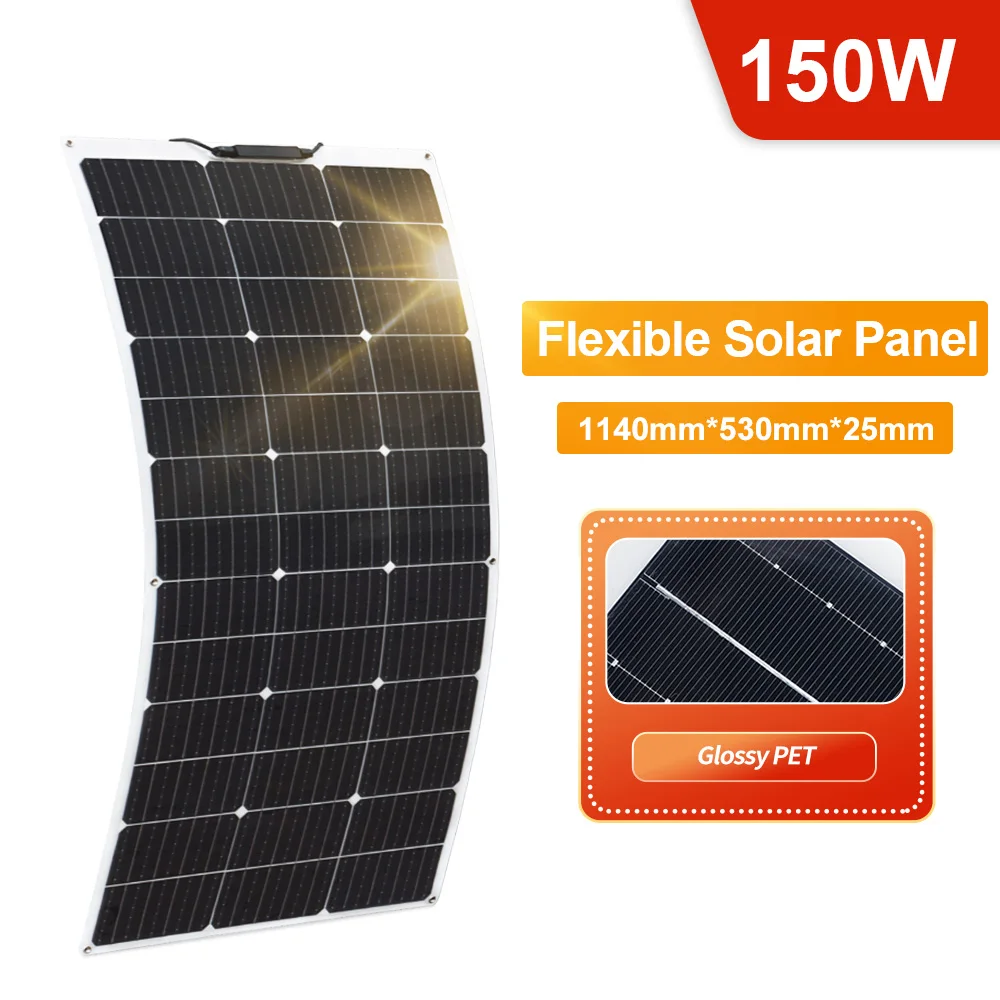
150W Flexible Solar Panel Size: 1140*530*2.5mm
50W Flexible Solar Panel Size: 820*370*2.5mm
Brand Name: xinpuguang
Certification: CE,FCC,RoHS,weee
Flexible Solar Panel: Yes
Foldable Solar Panel: No
High-concerned chemical: none
Material: Monocrystalline Silicon
Max. Power: 150W / 120W / 100W / 50W
Model Number: Solar Panel
Module Efficien: 24%
Nominal Capacity: 50W / 100w / 120W / 150W
Number of Cells: 36
Number of Panels: 1
Origin: Mainland China
Rigid Solar Panel: No
Type: Solar Panel
is_customized: Yes
XINPUGUANG 150W 120W 100W 50W Flexible Solar Panel 18v charge 12V battery charger system for motor home camper balcony
21.6V 150W Specification
Maximum power (Pmax) 150W
Maximum system voltage 1000V DC
Open circuit voltage (cov) 25,9 V
Short circuit current (Isc) 7,59 A
Vmp 21.6V
Maximum power current(Imp) 6,9 A
Temperature range -40℃~+80℃
Cell Monocrystalline silicon cell
Number of cells 39 pieces
Cell efficiency 23%.
Weight 2.2kg
Size 1140*530*2.5mm
Standard test conditions lrradiance 1000w/m^2,Temperature 25℃, AM=1.5
Output port 0.9 m long MC -4 connector wire
Material structure:
1 floor: PET
2 floor: EVA Film
3 floor: High Efficiency Solar Cell
4 floor: EVA Film
5 floor: TPT Backsheet
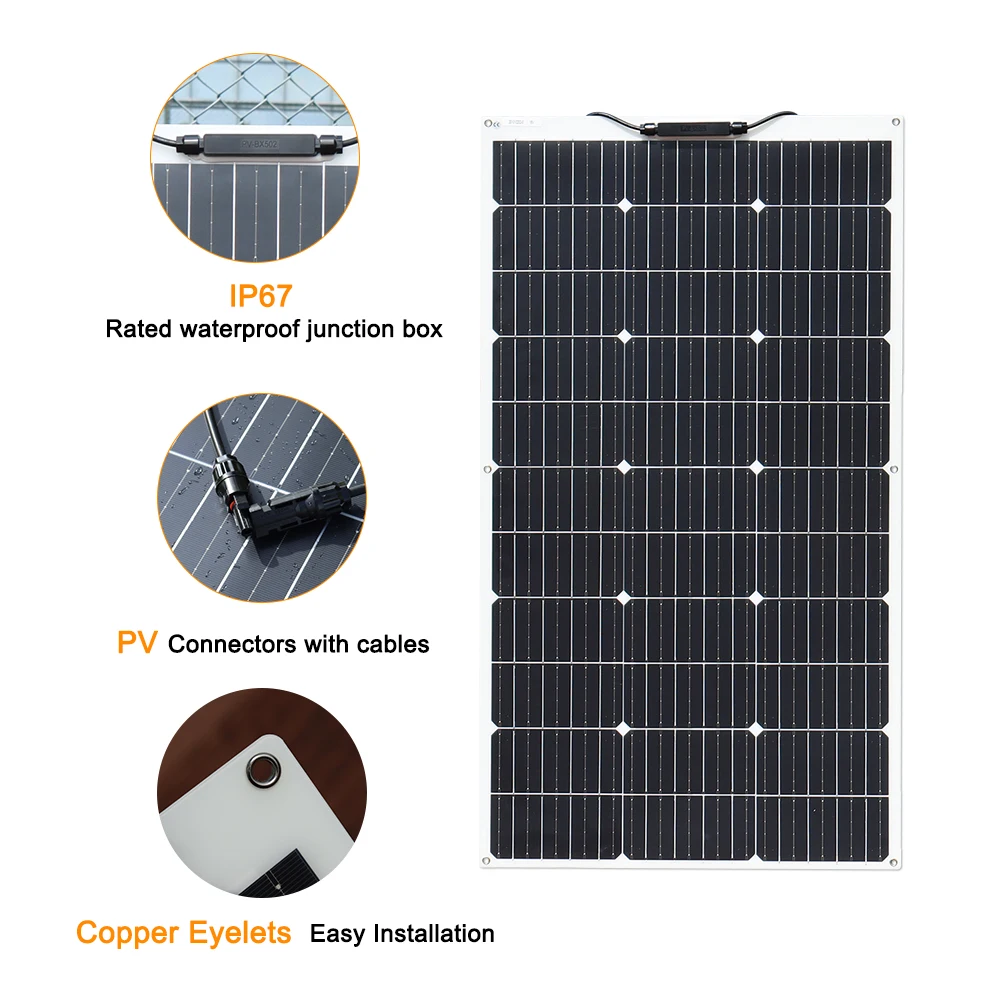
waterproof level:IP67(Junction Box)
(The above data is based on the laboratory standard test environment)
For field connections,use minimun No.14AWG copper wires insulated for a minimum 90℃
Standard Test Conditions:
AM=1.5 IRRADIANCE=1000W/m2 Temp.=25℃
(The size is manually measured and there is a certain error. Customers who want accurate size please don't buy,thank you)
12V 150 W SoarPanel kit
18V 120W Specification
Maximum power(Pmax) 120W
Output tolerance ± 5%
Maximum system voltage 700V DC
Open circuit voltage(Voc) 21.6V
Maximum power voltage(Vmp) 18.15V
Short circuit current(Isc) 6.9 A
Maximum power current(Imp) 6.6A
Cell efficiency 24%
Operating temperature(NOCT) 45±2℃
Temperature range -40℃~+80℃
Number of cells 33pcs
Weight 1900g
Size 1065*550*3 mm
Standard Test Conditions : lrradiance 1000w/m2,Temperature 25℃,AM=1.5
Material structure:
1 floor: PET
2 floor: EVA Film
3 floor: High Efficiency Solar Cell
4 floor: EVA Film
5 floor: TPT Backsheet
waterproof level:IP67(Junction Box)
(The above data is based on the laboratory standard test environment)
For field connections,use minimun No.14AWG copper wires insulated for a minimum 90℃
Standard Test Conditions:
AM=1.5 IRRADIANCE=1000W/m2 Temp.=25℃
(The size is manually measured and there is a certain error. Customers who want accurate size please don't buy,thank you)
OR
12V 120 W SoarPanel kit
19.8V 100W Specifications
Maximum power(Pmax) 100W
Output tolerance ± 3%
Maximum system voltage 700V DC
Open circuit voltage(Voc) 23.7V
Short circuit current(Isc) 5.55A
Maximum power voltage(Vmp) 19.8V
Maximum power current(Imp) 5.05A
Cell efficiency 24%
Operating temperature(NOCT) 45±2℃
Temperature range -40℃~+80℃
Number of cells 33pcs
Weight 1750g
Size 955*530*3 mm
Colour: Black
Standard Test Conditions : lrradiance 1000w/m2,Temperature 25℃,AM=1.5
Material structure:
1 floor: PET
2 floor: EVA Film
3 floor: High Efficiency Solar Cell
4 floor: EVA Film
5 floor: TPT Backsheet
waterproof level:IP67(Junction Box)
(The above data is based on the laboratory standard test environment)
For field connections,use minimun No.14AWG copper wires insulated for a minimum 90℃
Standard Test Conditions:
AM=1.5 IRRADIANCE=1000W/m2 Temp.=25℃
(The size is manually measured and there is a certain error. Customers who want accurate size please don't buy,thank you)
12V 100 W SoarPanel kit
19.8V 50W Specification:
Cell material: Monocrystalline silicon
Pmax (Power at Maximum under STC) :50W
Imp (Current at Max Power, A): 2.52A
Vmp(Voltage at Max Power, V): 19.8V
Voc(Voltage at Open Circuit):21.8V
Isc (Current at Short Circuit,A): 2.65A
Solar Cell Efficiency: 24%
Size of module:820*370*3mm
Net Weight: 1300g
Length of Cables: 19.7(inches)
Material structure:
1 floor: PET
2 floor: EVA Film
3 floor: High Efficiency Solar Cell
4 floor: EVA Film
5 floor: TPT Backsheet
waterproof level:IP67(Junction Box)
(The above data is based on the laboratory standard test environment)
For field connections,use minimun No.14AWG copper wires insulated for a minimum 90℃
Standard Test Conditions:
AM=1.5 IRRADIANCE=1000W/m2 Temp.=25℃
(The size is manually measured and there is a certain error. Customers who want accurate size please don't buy,thank you)
12V 50 W SoarPanel kit
Solar panels with anti-backflow diodes
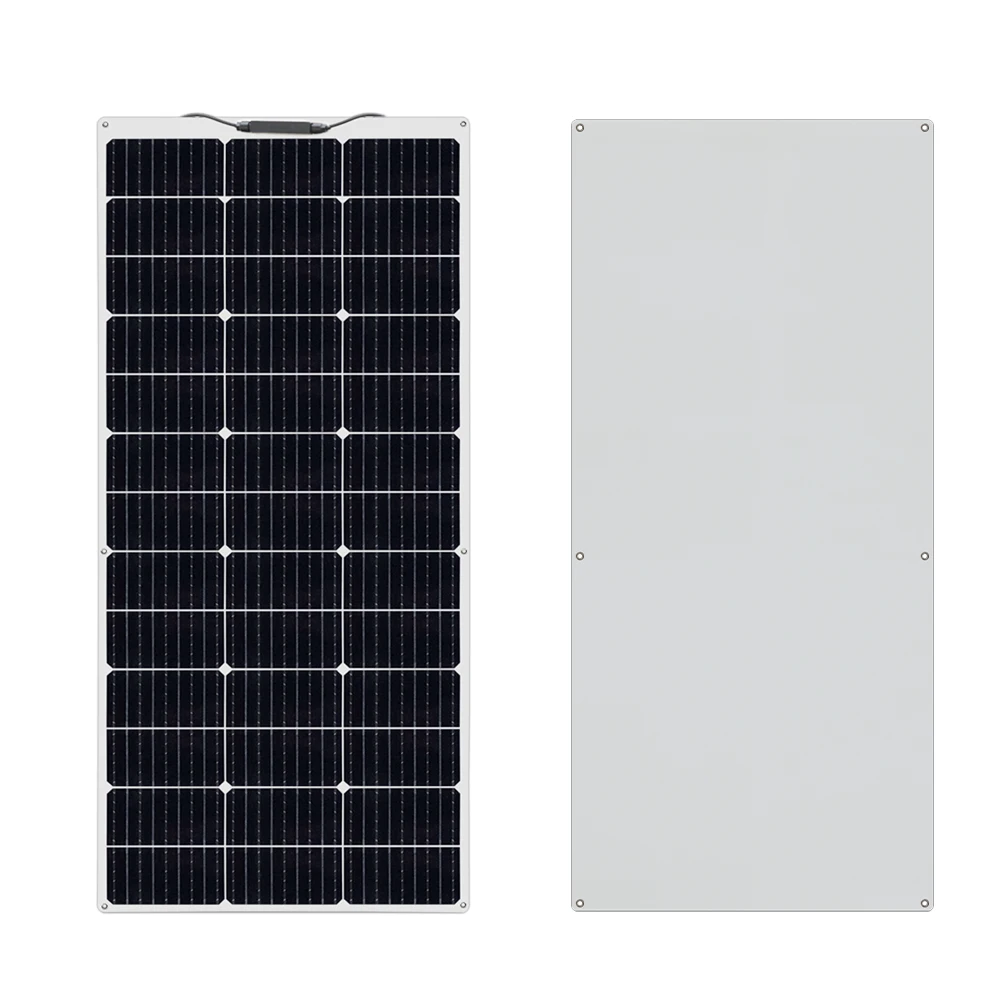
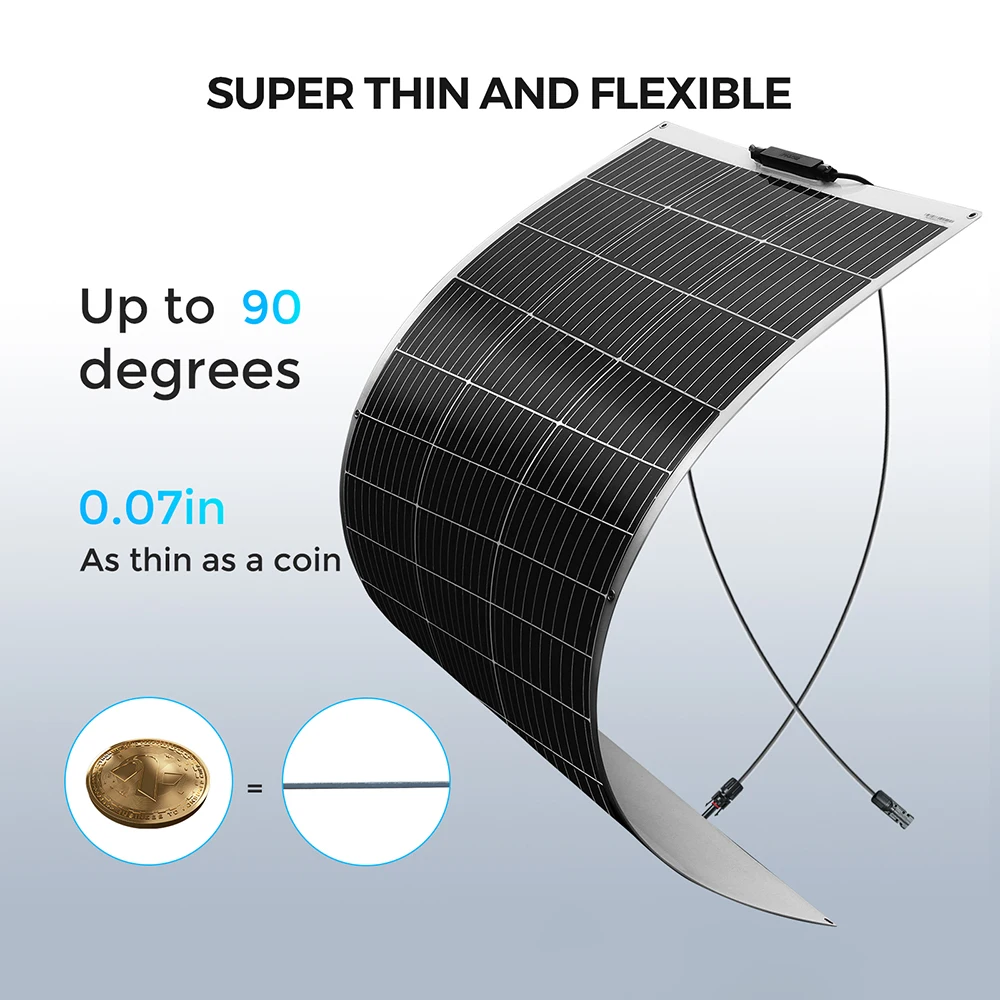
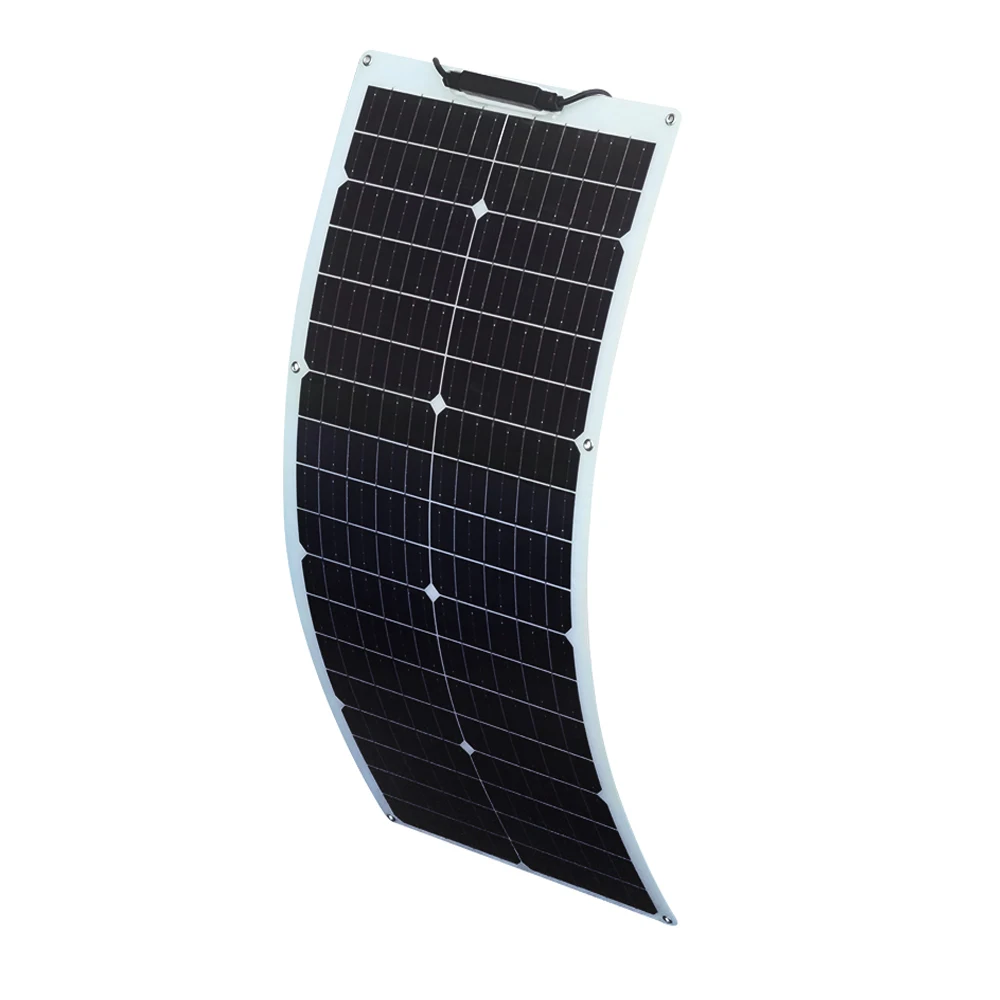
Solar panels can be bent 25 degrees
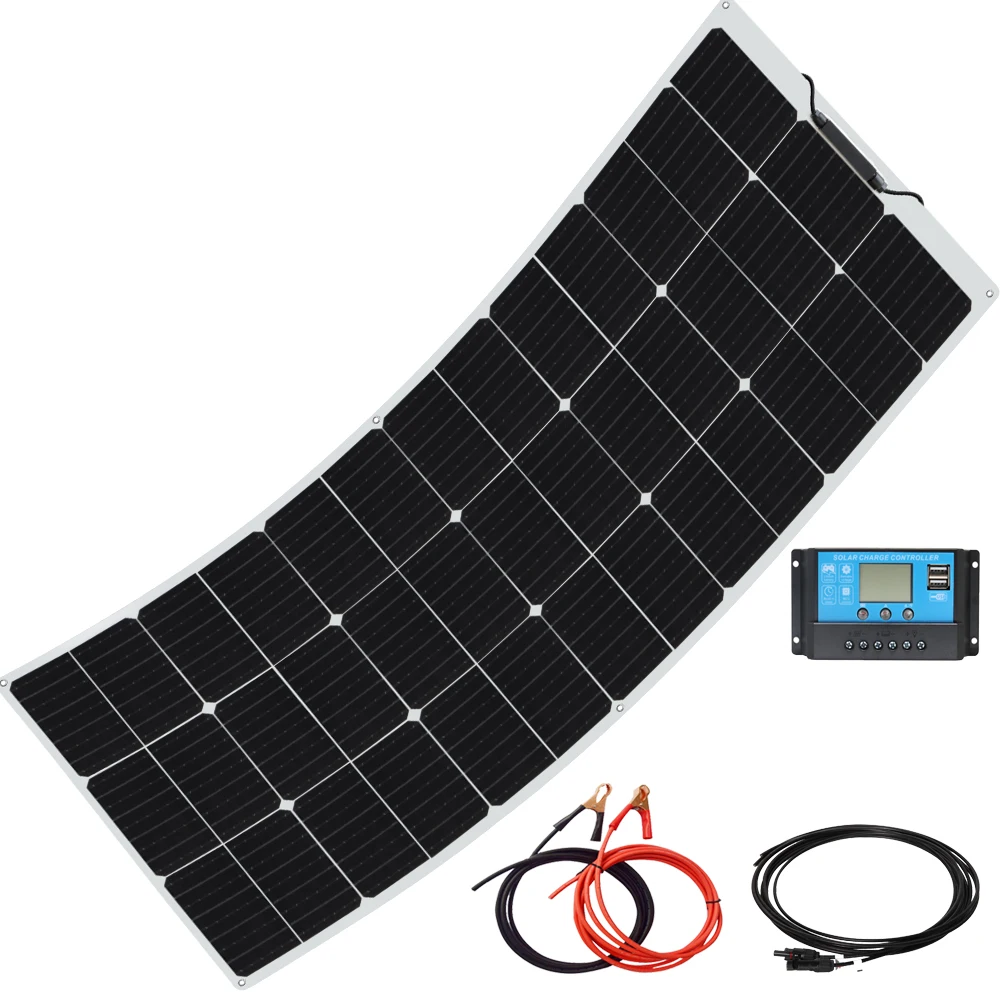
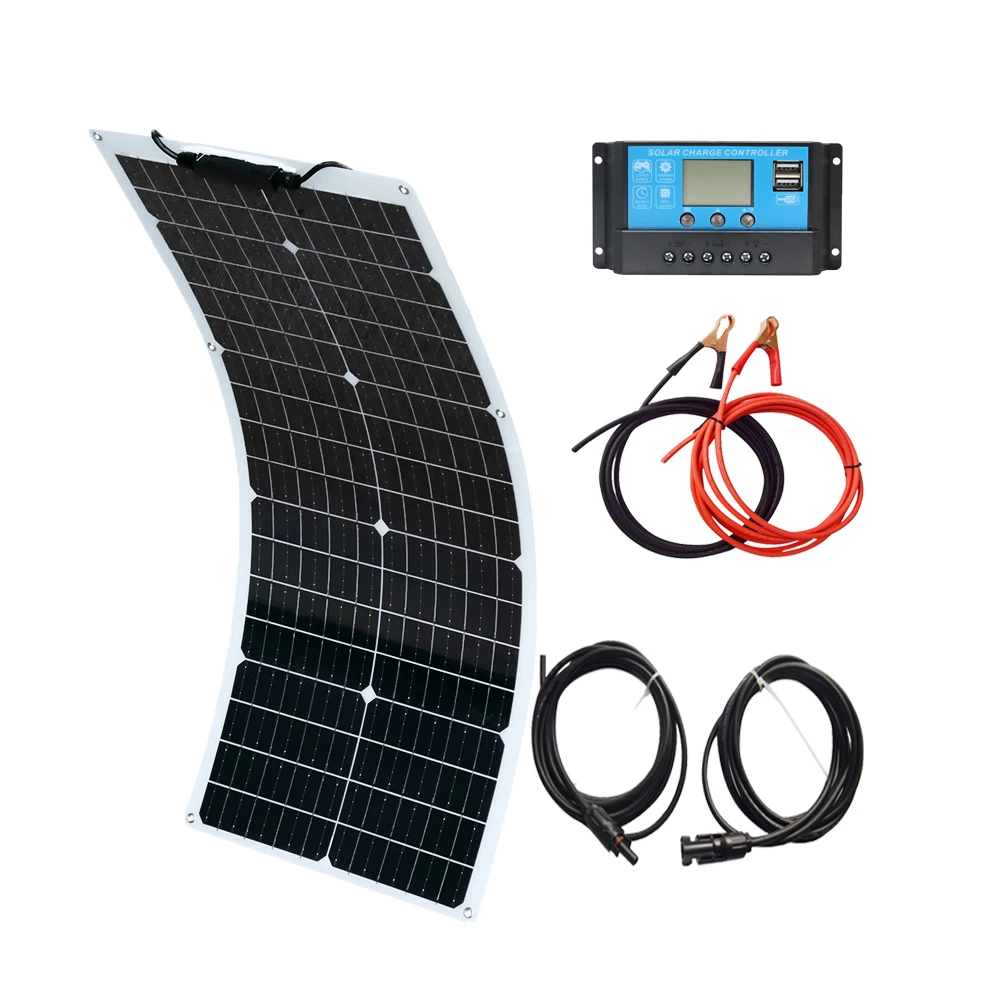
DC solar panel, to charge the battery you need to configure the controller together (if it is a portable battery/battery with controller function there is no need to connect the controller, the solar panel can be connected directly to the battery)
There is a protective film on the surface of the solar panel, which needs to be removed before installation and use.
Off-Grid Solar System User Manual
Use attention
1. Please install the solar panel system in cloudy days. If installing in strong light, pay attention to protection against electric shock.
2. Normally red color is the positive electrode and black color is the negative electrode. The positive and negative electrodes must be installed correctly.Do not directly connect the positive and negative poles of the solar panel to avoid a short circuit.
3. Do not scratch or step on the solar panel during installation and use. Check in advance whether the controller, battery, inverter and other accessories are normal.
Installation process
1. First,connect the battery to the controller to activate the controller. There is no display if only the solar panel is connected to the controller.
2. Then connect the solar panels, please install solar modules in a sunny and shadowless area. When using a 12V system, configuring 12V batteries and 16V/18V solar panels, so multiple solar panels need to be connected in parallel. When using a 24V system, configuring 24V batteries and 32V/36V solar panels, so every 2 solar panels need to be connected in series.Then connect all pairs in parallel. And so on. The parallel requires the same voltage, especially the series requires the same current.
The schematic diagrams of parallel and series connection of solar panels are as follows
(the same applies to batteries):
Parallel (positive to positive) Series (positive to negative)
3. Next, connect the inverter to the battery, and finally connect the load to the inverter. The low-power DC load can be directly connected to the controller, and the AC load needs to be connected to the inverter.
First,connect the inverter wire to the positive and negative poles of the inverter and tighten them.And then connect the other end of the wire to the positive and negative poles of the battery. It is normal if there is a small spark. Then connect the load to the inverter and turn on the inverter switch to start the load.
Do not connect the inverter to the controller to avoid damage.
Precautions for the use of flexible solar panels
The key components of solar panel are light, thin, and fragile, and they are easily broken under external force, resulting in low productionoutput and reduced power generation. Therefore, please pay special attentionto the process of transportation, turnover, installation, use, storage, and cleaning.
1. Transportation
During transportation, do not squeeze the solar panel to prevent the cell from cracking;
2. Turnover
In the process of turnover and transportation, be sure to handle itwith care and avoid violent vibrationsor throwing;
3. Installation
During the installation process, do not press the solar panel. For the installation location, the bottom of the solar panel cannot be suspended in a large area, and must be installed on a solid and flat surface; if additional drilling is required, the solar panel must be placed in a flat place and the bottom can be drilled only after the bottom is leveled. The installation environment must be dry and ventilated, free from obstruction, and free from acid and alkali corrosion.
4. Use
If it is not fixedly installed, be sure to handle it gently during use. When using, place the solar panel gently on a flat surface. The bottom should not be bumpy or raised by foreign objects such as stones. If you need to use the solar panel at an angle, the back cannot be suspended in a large area. Please keep the front on the same plane and have a solid support on the back to prevent the solar panel from tipping and falling. When picking itup, you need to lift the solar panel slightly to the side. Never pick it up directly from the unfolded surface, and don't let the two ends warp toward the middle.
When wiring, the wire used must be qualified and the wire diameter must be able to carry the output current of the solar panel. It is recommended to keep the same with the wire diameter on the junction box and use a standard connector. Do not use external wires with a smaller wire diameter to prevent the wires from heating up and catching fire.
5. Storage
When storing, the bottom is leveled and placed horizontally, with the junction box facing up. The bottom must not be suspended, and there must be no squeeze.
6. Cleaning
During use, clean up dust and other foreign objects in time. When cleaning, first place the solar panel on a flat and solid surface. When cleaning, do not squeeze the solar panel.